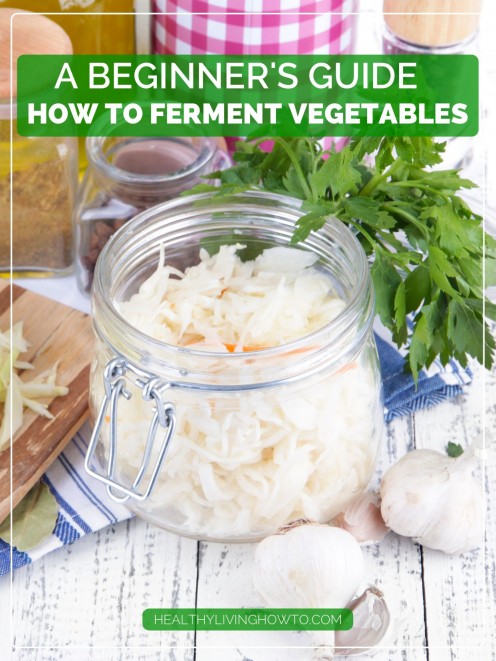
Culturing or fermenting raw vegetables can be a little intimidating. The process really is quite simple, but it seems like a lot to keep track of. What type of vegetables do you use? What do you culture/ferment with – salt, whey or freeze-dried culture? How do you make sure the culture doesn’t go bad during the fermentation process? How long, exactly, do those jars need to sit on my kitchen counter? And why bother culturing vegetables, anyway?
Heath Benefits of Fermented Foods
Consuming probiotics and fermented foods has numerous possible benefits. Chief among them, a healthier gut, which means more nutrients, vitamins, and minerals are absorbed. Plus, fermented vegetables are really delicious. Store-bought pickled veggies (like sauerkraut and pickles) are usually preserved in vinegar instead of a lactobacterial-salt slurry. This short-cut pickling method means no probiotics are present and the vegetables are usually limp and soggy. Lacto-fermented vegetables are crunchy, tangy and alive with healthy bacteria.
How To Ferment Vegetables
The more batches of vegetables you culture, the more experimental you’ll get. But if you’re an absolute beginner then there’s no easier, more foolproof way to start than by using freeze-dried cultures along with salt. Salt inhibits the growth of undesirable microorganisms; starter culture speeds up the fermentation process and offers the most consistent results.
Step 1 – After purchasing the freeze-dried culture of your choice (here’s one we recommend) and some non-iodized salt, buy several canning jars, or better yet a glass jar with an airlock setup (which eliminates the threat of unwanted mold).

Step 3 – Slice or grate the veggies, either by hand or in a food processor, and mix them in a large bowl with the salt and starter culture.
Freeze dried starter culture will come with instructions detailing the ratio of starter culture, salt, water and vegetables to combine. Mix the vegetables really well, squeezing them with your hands to release juices. Then pack it all in a jar with a loose cover or airlock lid. That’s it. (Glass weights can be set atop the veggies to keep them submerged, but aren’t necessary.)
Step 4 – Now it’s time to let the healthy bacteria do its thing. Most freeze dried cultures recommend letting the vegetable sit out for 7 to 10 days at room temperature (70 ºF, 20 ºC). After that, they go into the fridge and can be eaten immediately or left alone to cure several weeks for better flavor.
Enjoy!
If you keep a jar of fermented vegetables in your fridge at all times, you’ll find yourself regularly reaching in for a bite. And that is a good thing.
A Beginner's Guide: How To Ferment Vegetables written by Mark Sisson and originally published at MarksDailyApple.com, is syndicated with exclusive permission for Healthy Living How To. Pick up your copy of The Primal Blueprint and visit Mark's Daily Apple for daily articles on how to live a healthy Primal lifestyle in the modern world.
