 Ghee is sometimes called clarified butter, however, they are not the same. While the process in making the two are the same, ghee is cooked a little longer giving the butterfat a deeper flavor and ensures all the moisture and milk solids are removed. Ghee has a very long shelf life and does not need refrigeration. It solidifies at room temperature, yet remains easily spreadable.
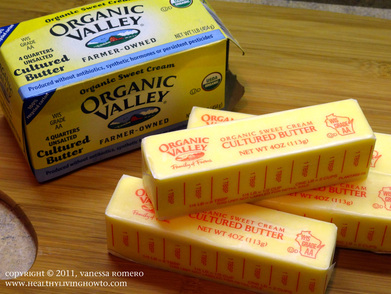 Start with a pound of unsalted high quality butter. Organic is good, grass-fed is better. Cheap butter has more water as well as chemicals and burns easily.
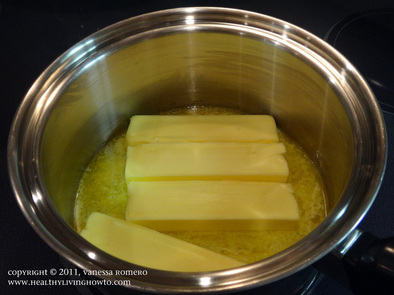 Not as a hard and fast rule, but to give you a general idea of when your ghee should be done, set your kitchen timer for 30 minutes. Plop your butter in a stainless steel pot, and over medium heat, melt the butter. While it may be tempting to turn up the heat to melt it quicker, don't give in.
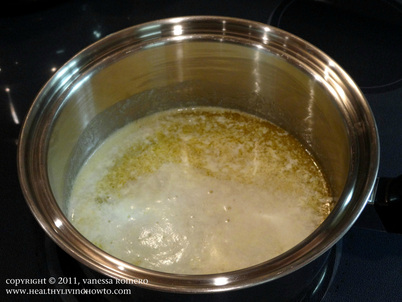
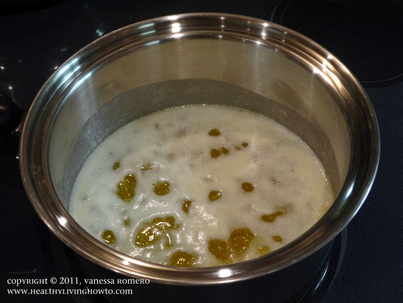 The butter is then going to start to erupt like little volcanoes. Turn the heat down to medium-low. We don't want the butter to burn.
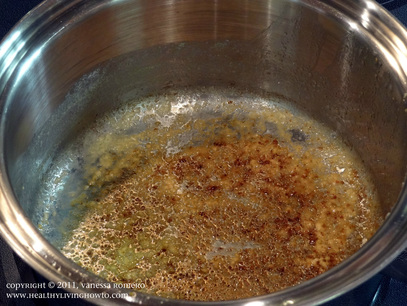
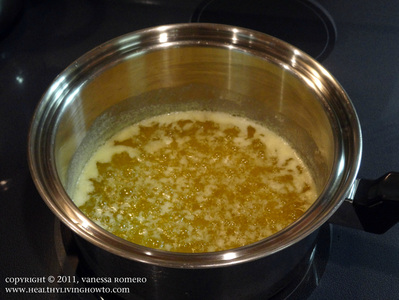 Once the butter is done erupting, it should be at a nice low boil. The foam temporarily dissipates, however, more is going to appear on the top of the surface. Swirl the butter around and take note of what has settled to the bottom of the pan. Those are the milk solids, we want them to “brown” but we don't want the butter to burn.
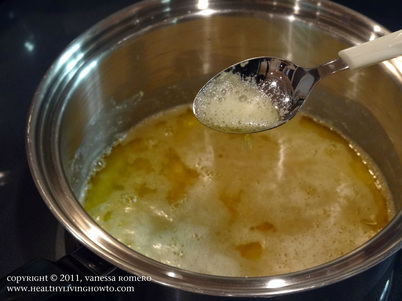 With a spoon, remove the foam. It will seem like the foam is never-ending, but take heart, it does end. There might also be a few more butter eruptions, which is fine, it's the milk solids browning on the bottom of the pan. When the butter stops foaming and you have removed most of it, you now have ghee. Check the bottom of the pan as well, the milk solids should be brown.
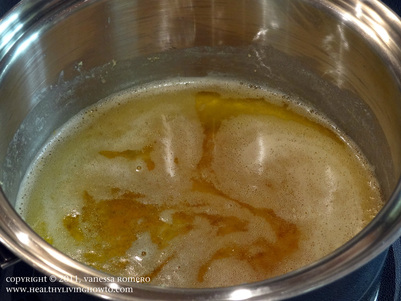 When most of the foam has been removed and no more is forming, take the butter off the heat. It is now time to strain the butter.
 Place a small mesh sieve over a heat-proof container. I like to use a Pyrex measuring glass as it makes it easy to pour the ghee into the container I store it in. Line the sieve with cheesecloth, or a kitchen “flour” towel, then go ahead and pour the ghee, slowly, into the sieve.
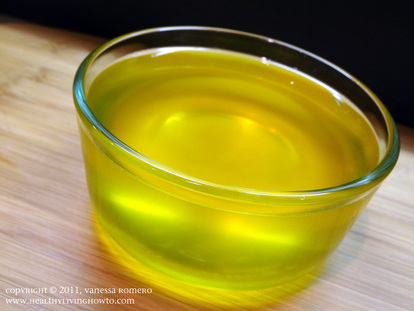
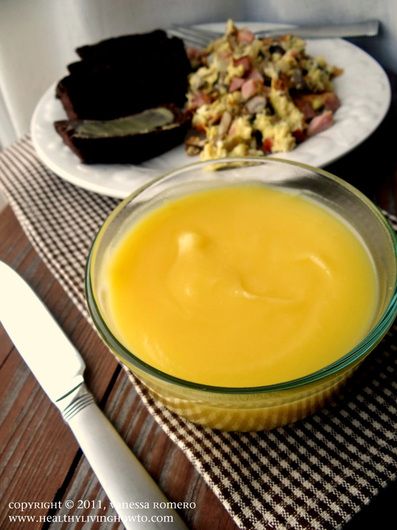
And this my friends, is what the freshly made ghee looks like. A clear pool of butterfat just waiting for your veggies to swim in. Ghee does not burn and has a high smoke point. It is spectacular in butter-based sauces, like Hollandaise. It can also be used in baked goods where a rich buttery flavor is desired.
Printable Step-by-Step Ghee Making Instructions
If your prefer to buy ghee instead of making your own, this one is my favorite!
