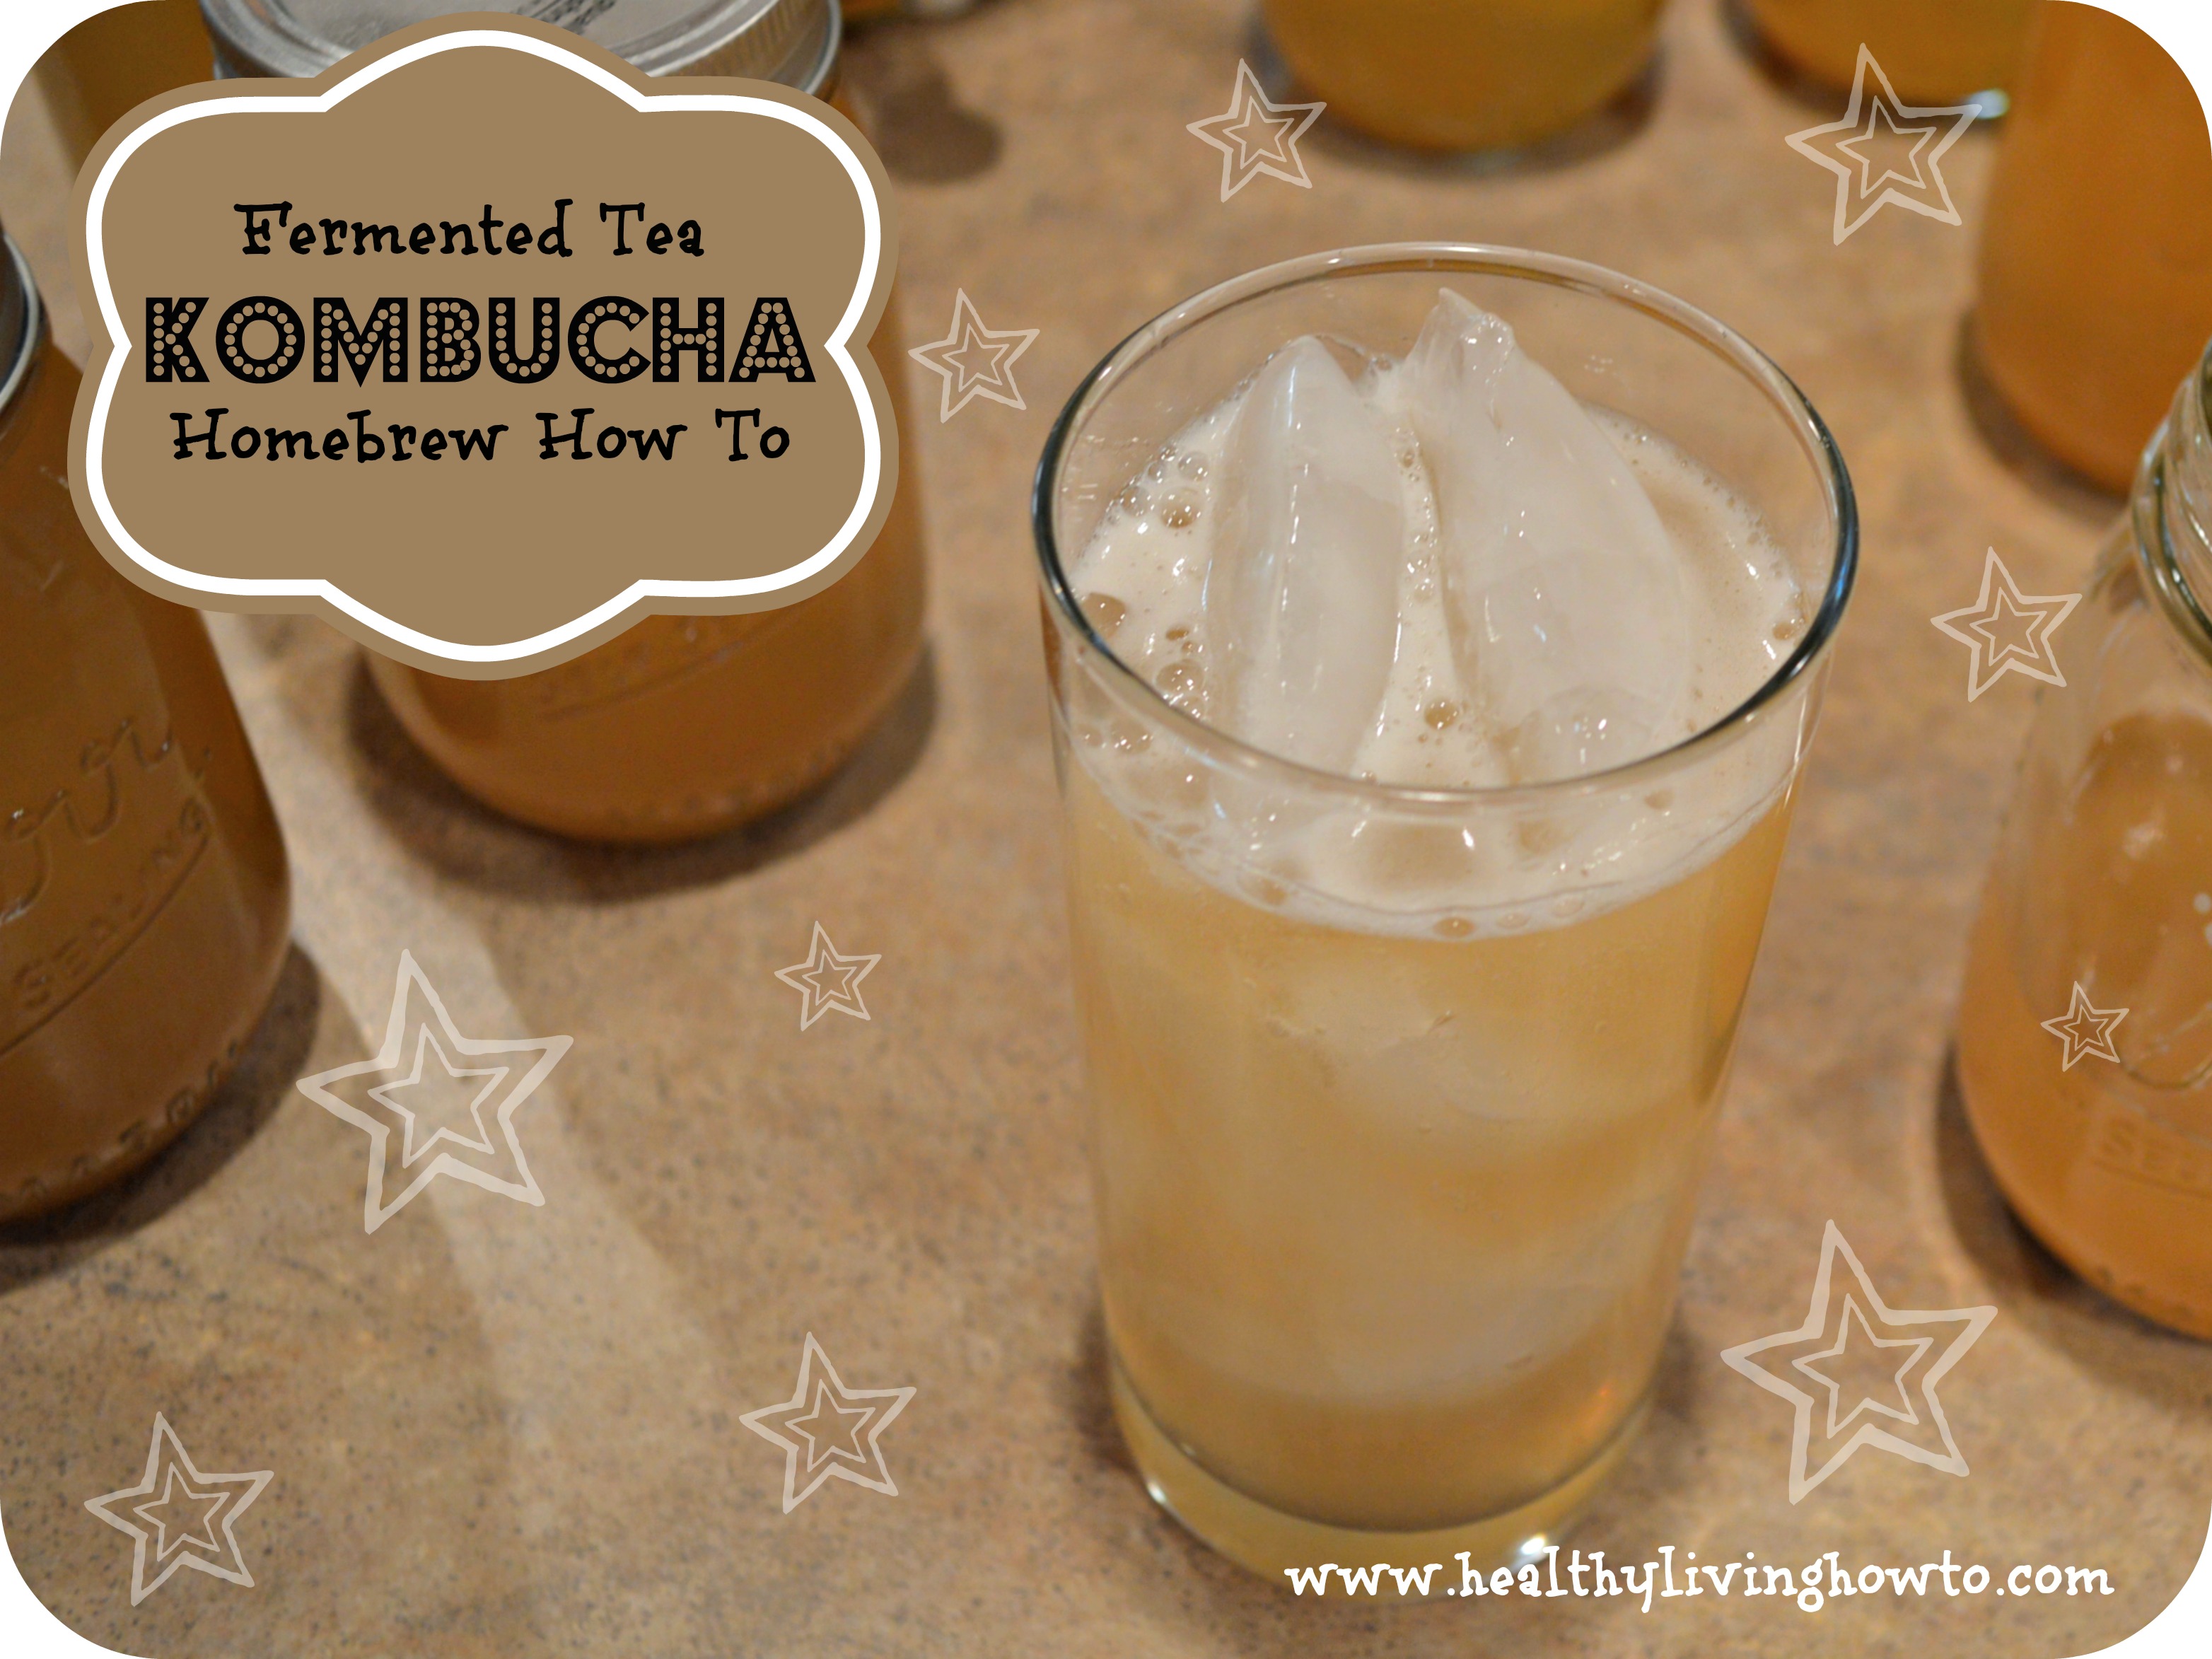
If you are just tuning in, let me quickly get you up to speed.
A little over a week ago, in a post titled Kombucha: The Basics, Buying and Brewing, I introduced Kombucha, a fermented tea with healing benefits. I laid the groundwork for today's post, explaining what Kombucha is, the health benefits of imbibing in this elixir, how much to drink, where to buy and then brought you along into my kitchen as I made my very first brew.
Kombucha promotes better health by improving the efficiency of the digestive and detoxification system which in turn boosts the immune system which results in a healthier you!
Kombucha: Homebrew How To in 3 Easy Steps
I am not a Kombucha homebrew expert. However, after successfully making my very first batch, I am happy to report it really is quite easy. So easy in fact, I think if you follow these simple steps you will be well on your way to becoming a homebrewer yourself.
Step 1: Make the Tea
We already covered in depth, the first steps in making Kombucha, complete with a step-by-step pictorial, found HERE. We got all the way to the final instruction in this first step and said, “now we wait.” A practice in patience, not for a day or two but 7+ days, the time needed to turn this from sweet tea to Kombucha. To quickly summarize, once you have the necessary supplies, you make a gallon of sweet tea, add a SCOBY to it, cover with a breathable cloth and wait. What happens during the waiting period is the fermentation process.
Step 2: Fermentation #1
The suggested length of time for the first round of fermentation is 7-10 days. During this time the SCOBY is thriving on the sugars in the tea and producing all the beneficial probiotics, enzymes and organic acids Kombucha is rich in. The longer it ferments, the less sweet it will be, which also means the less sugar in the final product. As far as how much is going to depend on how long it ferments along with a few other factors. In general, a 10-day ferment results in about 1-2 grams of sugar in an 8 oz. glass of unflavored Kombucha. I started tasting my Kombucha on day 7 and decided that I liked the taste best on day 10.
Step 3: Fermentation #2
After the first fermentation period, it is time to bottle, flavor (if desired) and ferment a second time. The second fermentation is what gives Kombucha carbonation. Evenly distribute the Kombucha into eight pint size glass jars with lids with enough reserve of Kombucha left in the brewer to start the next batch (about one cup). To keep sugar content low, I opted to flavor with lemon juice. I added 1 tablespoon to each of the eight jars, capped tightly and stored in a dark cupboard for two days at room temperature. After two days, I carefully opened, poured a little in a glass to check carbonation and it was perfect. I moved the Kombucha to the refrigerator to stop the fermentation process and to chill before enjoying.
Continuous Brew
In the brewer, there should be at least a cup of starter tea and a growing SCOBY to start another batch. Simple enough, go back to Step 1 and start the process all over again. It is not necessary to clean out the brewer or to remove the SCOBY until it becomes too big. We will re-visit this topic in the weeks to come.
